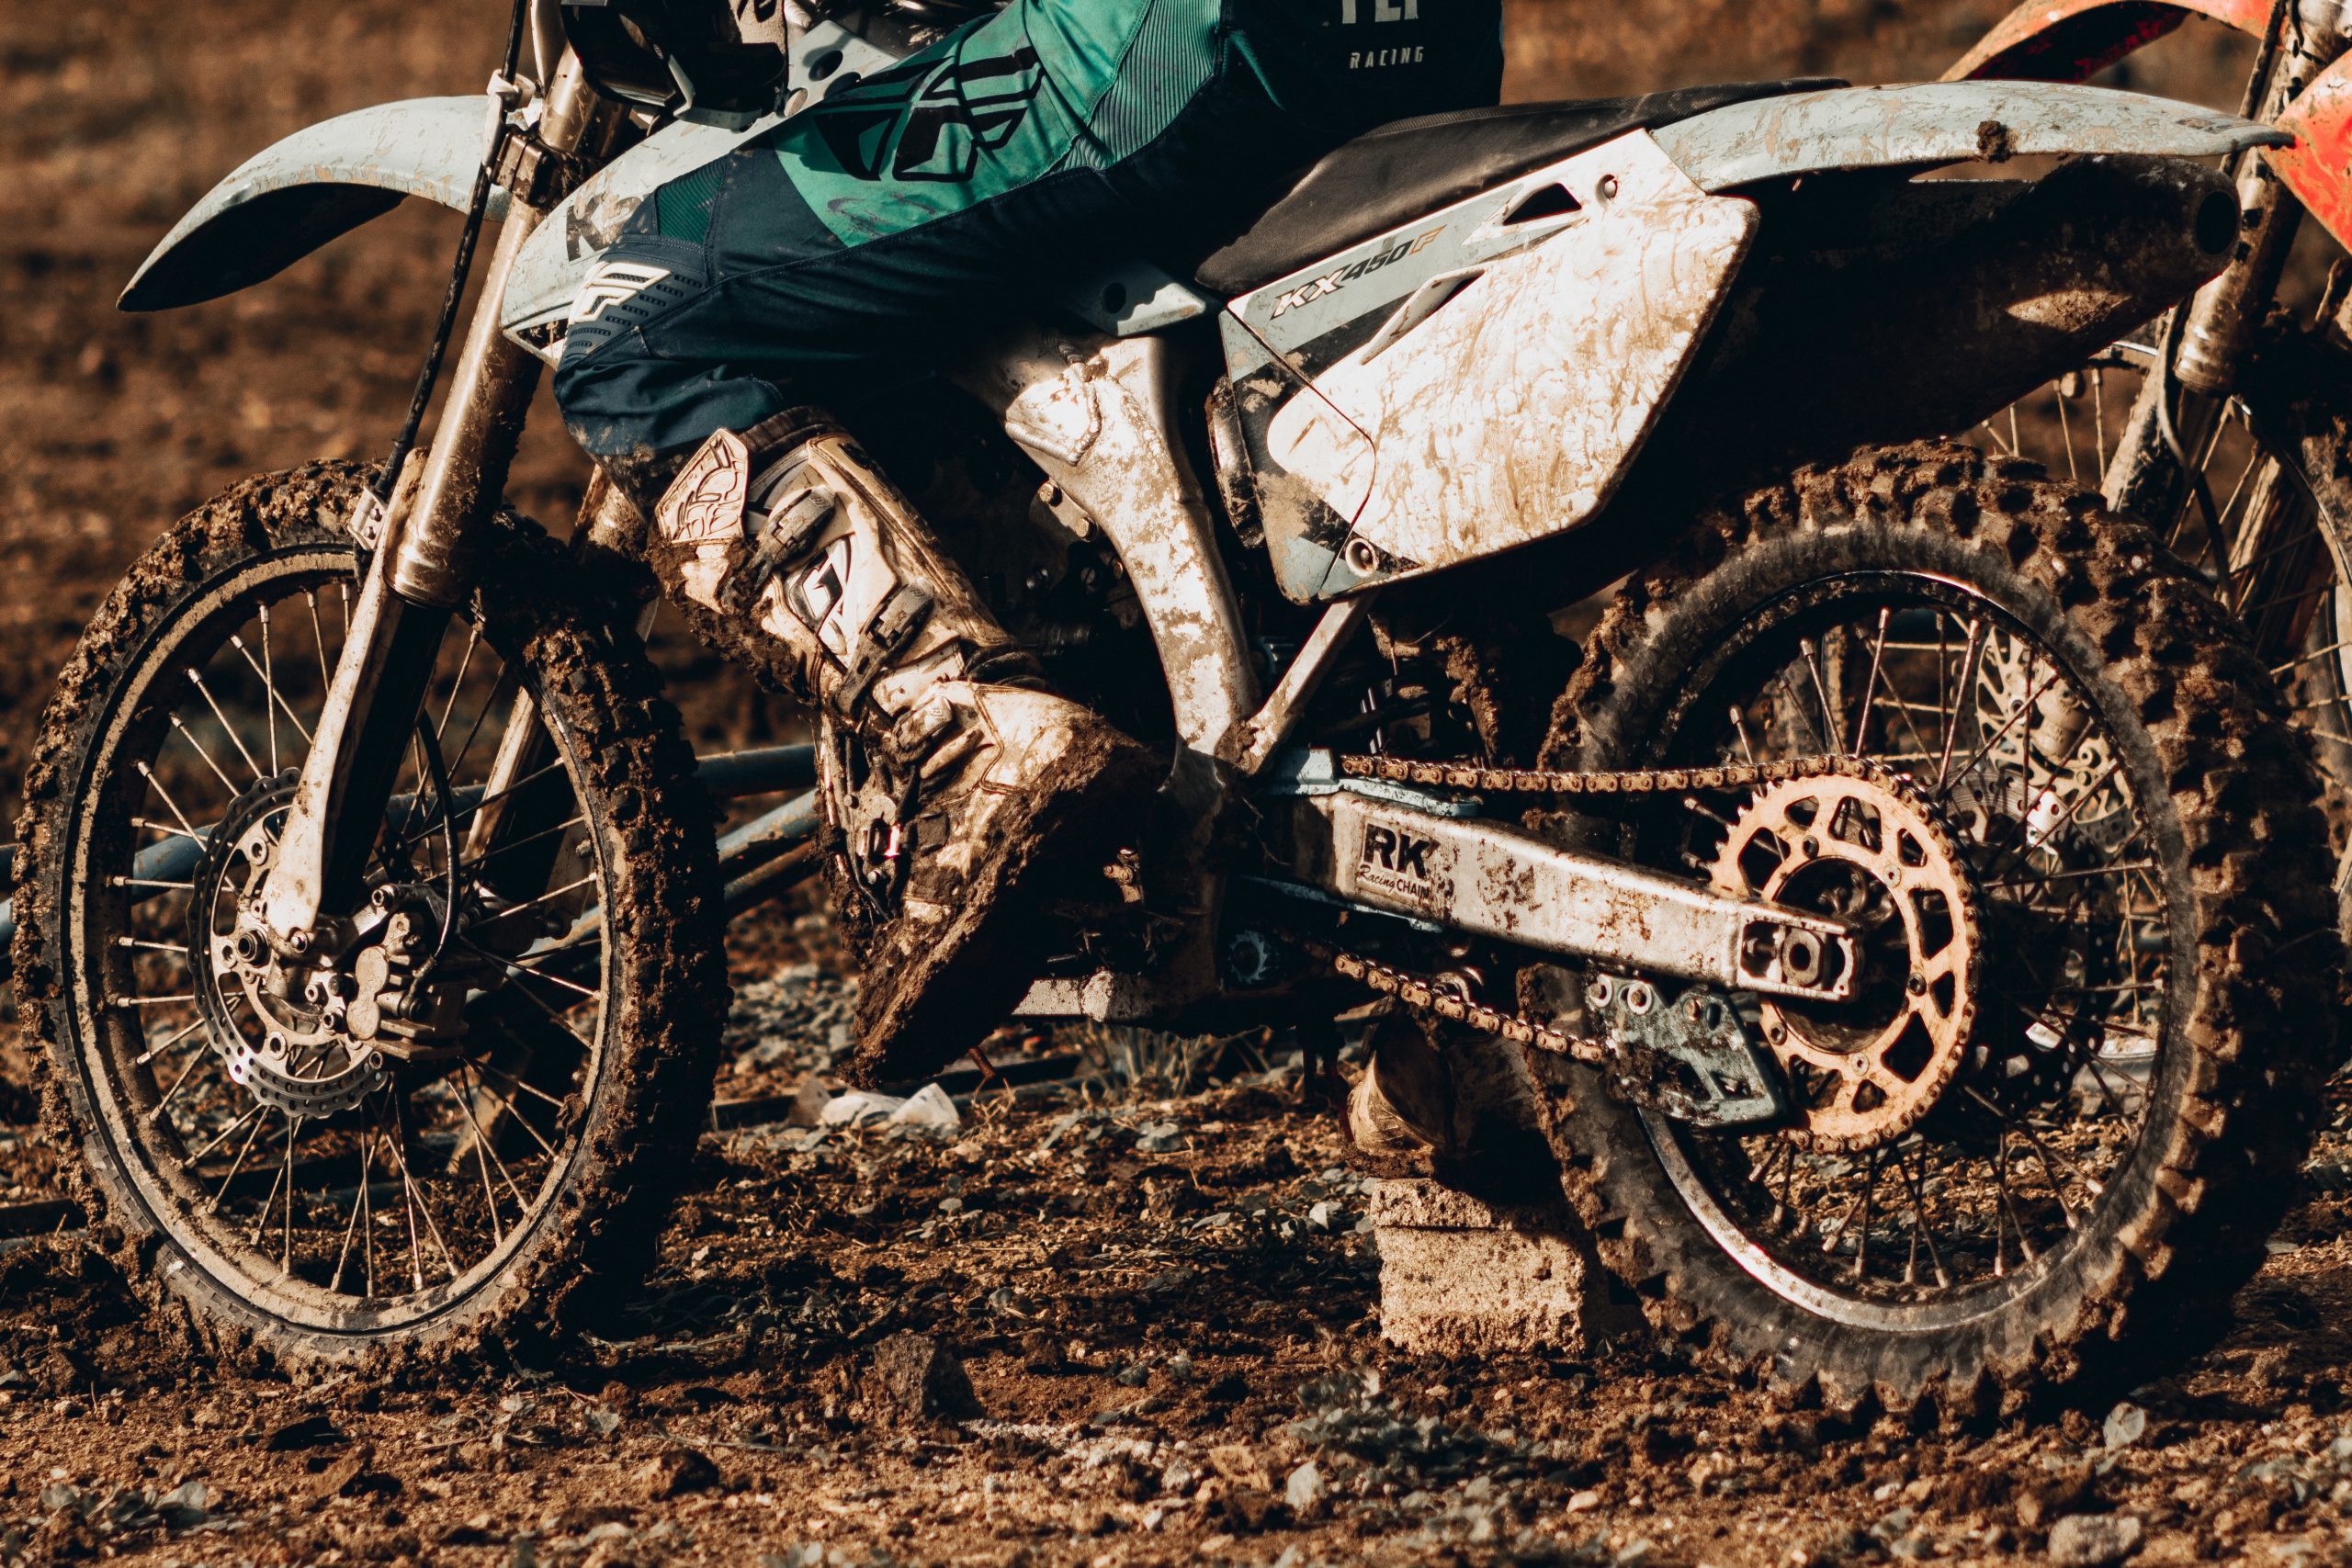
While most dirt bike riders aren’t out on the trails and tracks just because they want to look cool, there’s no denying that it’s more enjoyable to ride a quality bike that shows some personal style. Bike owners who want to elevate their rides can learn how to unleash style with a dirt bike graphics kit below.
What Are Graphics Kits?
Graphics kits are sets of decals designed to cover some or all of the plastic components of dirt bikes. Applying a Senge Graphics kit can help to protect a bike from wear and tear while simultaneously making it stand out, drawing attention to the rider and their skills. The best part is that there’s no need to take the bike to a shop because high-quality graphics kits are designed to be applied at home.
Choosing the Right Graphics
The most important thing when it comes to choosing a graphics kit is to buy one that’s fitted to the bike. Each make and model of dirt bike is a little different, so a kit that fits one like a glove won’t be suitable for any other bike. The good news is that today’s top graphics vendors manufacture a wide variety of kits for all makes and models.
Riders need to choose between buying full kits designed to cover 100% of the exposed plastic on a bike and partial kits that contain only a few decals. Shroud kits and trim kits are both popular options since they’re more affordable and take less time to apply than full kits, but keep in mind that while they can look just as cool, they won’t offer the same level of protection against the elements.
Beyond these basics, the choice of graphics is up to each rider. The best option is always to pick a kit that shows off the bike’s best features and the rider’s style. Include sponsors, rider numbers, or team names as needed, then place the order online and start prepping the bike.
Applying Graphics Like a Pro
There’s little point in ordering a high-quality, custom graphics kit if the rider isn’t going to take the time to apply it properly. Thankfully, the process isn’t very difficult. With enough attention to detail, any dirt bike owner can apply graphics like a pro. Here’s what it takes.
- Prepare the bike by removing old graphics and then cleaning all of the plastic surfaces thoroughly.
If there is any adhesive left over from the old graphics, be sure to get all of it off so it doesn’t interfere with the new decals.
Allow the bike to dry before applying the new graphics and check them first to ensure a proper fit.
When applying new graphics, start from the center and work outward to avoid air bubbles and wrinkles.
Using a heat gun or a blow dryer can make it easier to work out any imperfections and can help to cure the adhesive so that it sticks properly, especially around the edges.
After one graphic has been applied, move on to the next and repeat the process until all of them are in place.
An Easy and Affordable Way to Ride in Style
Graphics kits offer an easy and affordable way for dirt bike owners to elevate their rides and hit the trails or tracks in style. Just be sure to buy high-quality products that have UV protection and protective finishes and take the time to apply each decal carefully to ensure the best results.

